
Grow & Preserve
How to start seeds indoors without leggy seedlings
Your seedlings come up fast, stretch, go pale and flop over — and you still can't tell whether the light, the soil or the watering is to blame. The short answer is light, and the fix is one short session with the tray and the light.
On this page (13 sections)
- Why seedlings get tall, pale and floppy
- What you actually need, and the best soil to start seeds indoors
- When to start: count back from your last frost
- How to start seeds indoors: sow, cover, then light
- Seed starting lights indoors: the part that fixes leggy seedlings
- Watering, thinning and the first feed
- Hardening off: the schedule that saves your transplants
- Planting-out day, and the first week in the garden
- Troubleshooting the tray
- When to get help
- Frequently asked questions
- Next in the manual
- Sources
Every spring the same tray, the same disappointment: the seedlings come up fast, stretch until the stems cannot hold themselves, go pale, and flop over right around the week you meant to plant them out. You moved them to a sunnier window and changed how you water, and you still cannot tell whether the light, the soil or the watering is the problem.
The answer, most years, is light. How to start seeds indoors, in one sentence: the day a seedling breaks the surface, take the cover off and put a bright light directly over it. Sow at the right depth in a mix that drains, water the soil rather than the leaves, then thin and harden off.
The dates, depths and temperatures below come from the University Extension pages linked at the bottom, so you can read the originals yourself. This page names no product and links to no seller. A tray, a bag of mix, a light and a watering can cover the whole plan.
Key takeaways
- Pale, stretched seedlings are short of light. As soon as they appear, take the cover off and put them in full sun or directly under fluorescent lights (University of Minnesota Extension).
- Use trays or peat pots three to four inches deep, filled to about a quarter inch below the rim and firmed along the sides (University of Minnesota Extension).
- Sow two or three seeds per cell in a quarter- to half-inch hole, cover lightly, and water with a fine-screened tool so the seed is not washed out (University of Minnesota Extension).
- A homemade mix is two parts loam, one part sand and one part organic matter, sifted through a quarter-inch screen; bagged mixes do the same job (University of Minnesota Extension).
- Start transplants four to six weeks before planting out, and harden off by gradually increasing time outdoors and in the sun (UC Master Gardeners of Santa Clara County).
Why seedlings get tall, pale and floppy
Three things go wrong, and they go wrong in this order. Light comes first: a seedling short of it has only one move, which is to grow taller and thinner, reaching for brightness that a windowsill cannot supply from every side. Pale and floppy are the same shortage in different clothes.
Second is depth. A seed carries only so much stored energy, and one planted too deep spends all of it digging toward a surface it never finds. Third is water — rarely too little, usually too much, and often poured over the leaves instead of the soil.
The University of Minnesota Extension's instruction is refreshingly short: as soon as the seedlings appear, remove the plastic cover and keep them in full sunlight or directly under fluorescent lights. That one sentence separates a stocky transplant from a tray of pale thread. Most of this page exists to keep it from being undone by a seed sown too deep or a flat left sitting wet.
What you actually need, and the best soil to start seeds indoors
Containers, a mix, a light and a way to water gently. The Minnesota guide asks for plastic trays or peat pots three to four inches deep, a clear plastic cover, and a warm room to germinate in. That is the whole shopping list.
A mix, not garden soil. The University of Minnesota Extension gives a recipe — two parts loam, one part sand and one part organic matter, mixed thoroughly and sifted through a quarter-inch mesh screen — and notes that bagged premixed soil mixtures from a garden center do the same job. If you bring in soil or compost from somewhere else, take it from a spot that is not carrying soil-borne plant pathogens or contaminants such as lead and pesticides (University of Minnesota Extension).
Fill the container, firm the mix along the sides, level it about a quarter inch below the top and firm it again. That quarter inch is what stops water running over the rim and down the outside of the tray.
Here is the shopping list both Extension guides actually describe: trays, mix, a clear cover and a light. The University of Minnesota Extension does call for a starter feed later on — 1½ tablespoons of 5-10-5 in a gallon of water — but neither guide's basic method requires a heat mat or a vented propagator. Leftover seed kept in a cool, dry place is generally good for a few years (UC Master Gardeners of Santa Clara County), so this spring's packets are usually not a one-time purchase.
When to start: count back from your last frost
Sowing too early fails about as often as sowing too deep, because a plant that outgrows its pot in March has nowhere to go in April. The rule worth memorizing is the UC Master Gardeners': start transplants four to six weeks before the date you want to plant them out, then check that against your own last frost date.
The dates below are the University of Minnesota Extension's, written for a climate where the last frost lands mid-to-late May. If your last frost comes earlier, move every date earlier by the same number of weeks; later, later.
| Crop | Start indoors | Seed depth in the tray |
|---|---|---|
| Onion, for transplants | Early February | 1/4 to 1/2 inch |
| Celery | Mid-February | 1/4 to 1/2 inch |
| Broccoli, Brussels sprouts, early cabbage, cauliflower, head lettuce | Early March | 1/4 to 1/2 inch |
| Eggplant, okra, pepper | Mid-March | 1/4 to 1/2 inch |
| Tomato | Early April | 1/4 to 1/2 inch |
| Late cabbage, sweet potato roots | Mid-April | 1/4 to 1/2 inch |
Cool-season and warm-season crops are not on the same clock. Lettuce, cabbage, cauliflower, broccoli, Brussels sprouts and onions can be sown early and must mature before hot weather arrives; peas, spinach, lettuce and radish can be direct-seeded once the soil is 40 to 50 °F (4 to 10 °C), so they need no head start indoors at all. Tomatoes, eggplants, peppers, summer squash and basil need a long season and will not mature if you seed them straight into the garden, and they wait until after the last frost, into soil at 50 to 60 °F (10 to 16 °C) (University of Minnesota Extension).
The two Extension pages sit a little apart on that last number: the UC Master Gardeners put transplanted warm-season crops into soil that is consistently 65 to 80 °F (18 to 27 °C). Treat 50 to 60 °F as the floor for setting plants out and 65 to 80 °F as the range where they take off.
The pages also sit a few weeks apart on tomato timing. Minnesota's table names early April; the UC Master Gardeners' four-to-six-week count-back, applied to a mid-to-late May planting, lands in early-to-mid April. So for a mid-May last frost, treat early to late April as the window and judge by the size of the plant as much as the calendar.
A household whose last frost comes in mid-May sows tomatoes in early-to-mid April — early April by the Minnesota table, mid-April by the UC count-back — for a late-May planting. Sowing those same tomatoes in early March mostly buys a taller, hungrier plant that has spent a month in a pot too small for it.
How to start seeds indoors: sow, cover, then light
The sowing job is short: fill, firm, sow, cover, water. Each step below has a clear finish line, so you know when to move to the next one.
Fill and firm
Fill the trays with mix, firm it along the sides, level it about a quarter inch below the top, then firm it again (University of Minnesota Extension). A loose fill settles unevenly and takes the seeds down with it.
Done when: the surface is level and firm, not fluffy.
Cut every hole to the same depth
A dibble tool, or a pencil with a tape mark at a quarter to a half inch, keeps every hole identical (University of Minnesota Extension). Uneven depth gives uneven emergence, so the tape mark is doing real work.
Done when: every cell has a hole of the same depth.
Two or three seeds per cell
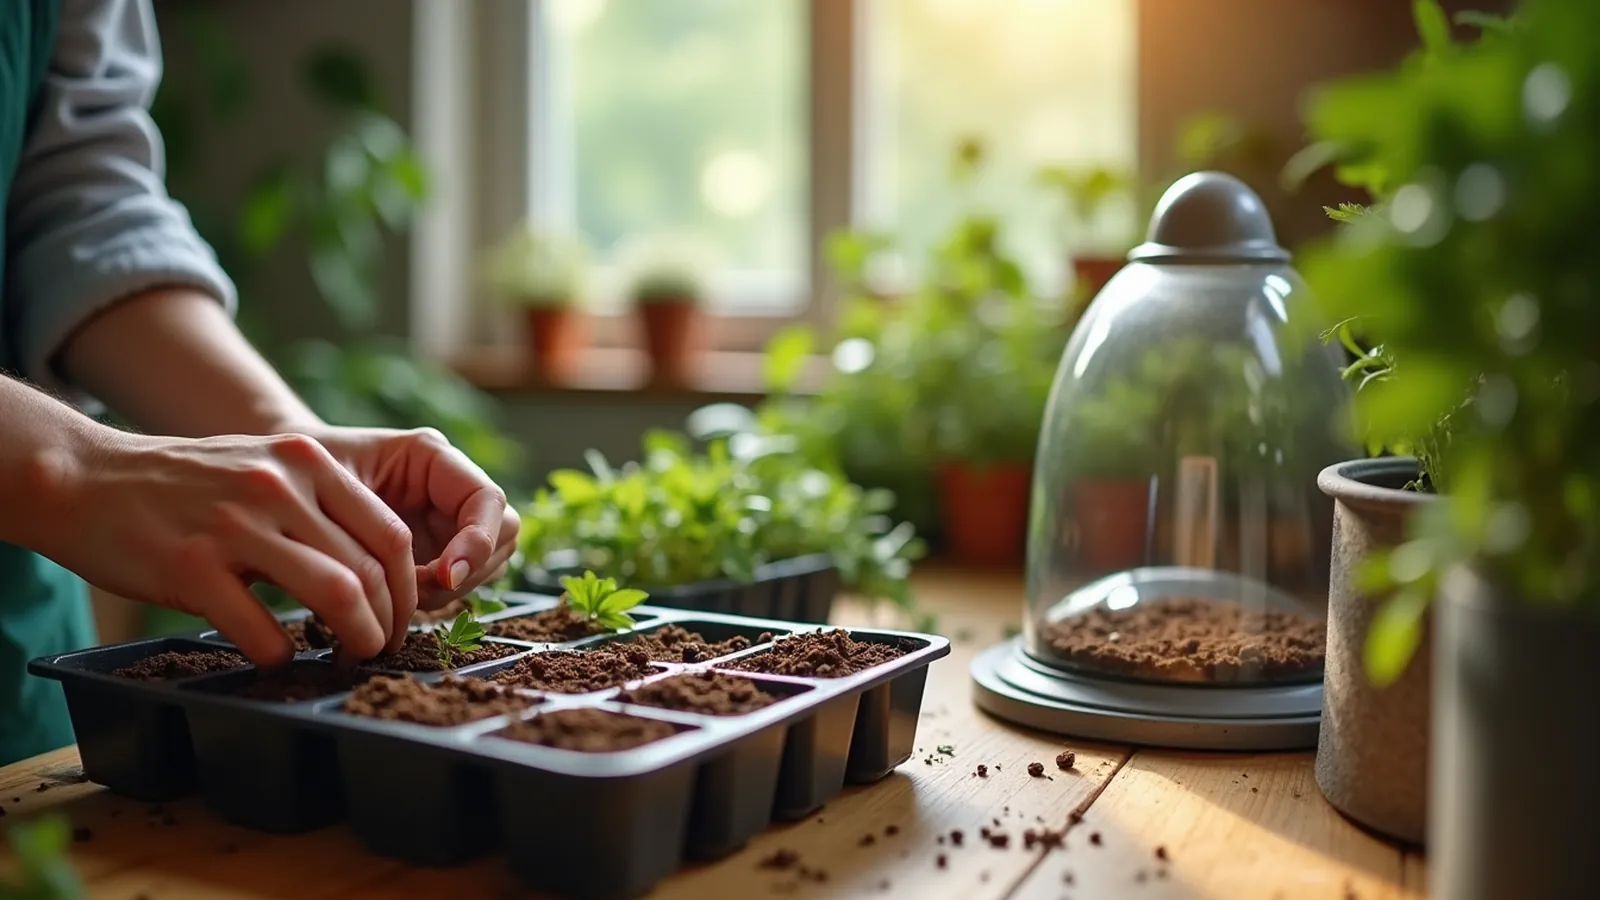
Sow two or three seeds in each cell rather than one, then thin to the strongest (University of Minnesota Extension). The extra seed is cheap insurance against a dud.
Done when: every cell has seed in it.
Cover them lightly
Cover the seed with sand, screened soil or vermiculite — lightly, not a mound (University of Minnesota Extension).
Done when: the seeds are just hidden.
Water without washing them out
Use a fine-screened watering tool that breaks the stream into a soft spray, so you are not sending seed into the next cell (University of Minnesota Extension).
Done when: the mix is moist all the way down and nothing has moved.
Cover with plastic and keep the room warm
Clear plastic over the tray, and a warm room until germination (University of Minnesota Extension). Check daily, because this is the one stage that happens without you.
Done when: the first green shows — then the cover comes straight off.
Seed starting lights indoors: the part that fixes leggy seedlings
Light decides the shape of the plant. The Minnesota instruction is a place rather than a timer: full sunlight, or directly under fluorescent lights, starting the day the seedlings emerge.
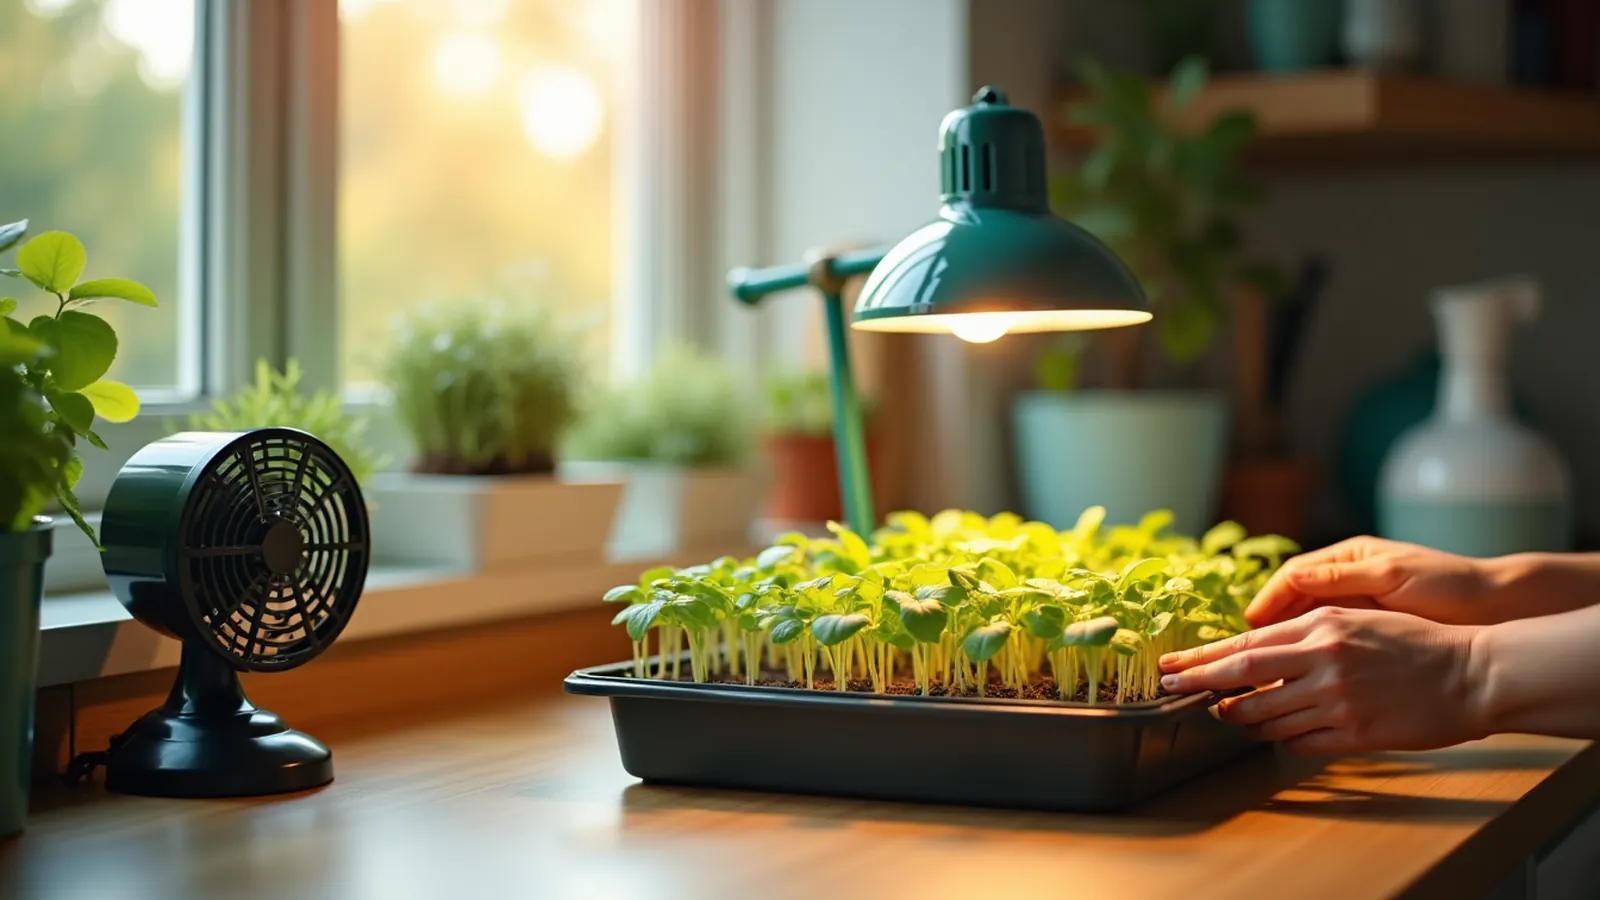
A windowsill is bright enough to read by and, to a seedling, lit from one side only. That is why the tray on the sill leans: the far side stretches toward the glass. If a windowsill is all you have, turn the tray regularly so a different side faces the glass, and expect slower, stockier growth than you would get under a tube. A light over the tray lights the whole flat from above, which is why the Extension guide names it and why the plants stop reaching. Set the tray under it as soon as the first seedlings are up, and keep the newest leaves close to it, raising the fixture as the plants grow.
Why there is no hours-per-day or inches-from-the-bulb column here
The instructions quoted here give a place — full sunlight, or directly under fluorescent lights — and not a number of hours or a distance in inches. Those depend on the fixture you own, and its label is the authority on mounting and clearance. Rather than hand you a precise-looking number the quoted text does not back, here is the test that matters: small, thick, green new leaves with the light right over the tops mean it is working. Stems still stretching and pale new leaves mean the plants are reaching — bring the light closer to the tops and raise it as they grow, following the fixture's own instructions.
One more sign to read correctly: a seedling that is pale and stretched but still standing is not a lost cause. Fix the light and new growth comes in shorter and greener, while the leggy stem stays leggy. That is why the correction is worth making in the first week rather than the fourth.
Watering, thinning and the first feed
Once the cover is off, the work is deliberately boring: keep the mix evenly moist and put the water on the soil, not the leaves. The University of Minnesota Extension's note — water as close to the soil as possible so water does not splash onto the leaves, which helps prevent plant diseases — was written for the garden bed and applies just as well to a tray on a shelf. A shallow tray dries fast, so check it daily rather than on a schedule.
Thin to one plant per cell once the seedlings are up (University of Minnesota Extension). It feels wasteful to pinch out seedlings you waited for, but crowded cells shade each other and every plant ends up weaker. Then the starter feed: 1½ tablespoons of 5-10-5 fertilizer in a gallon of water (University of Minnesota Extension). Give the tray room, too — a flat packed against a wall gets light on one side and still air on the other.
Hardening off: the schedule that saves your transplants
A transplant's first week outside is when hardening-off mistakes show up, and the usual cause is one jump: from a warm room to full sun and wind in a single afternoon. The UC Master Gardeners' instruction is to harden off the seedlings by gradually increasing the time they spend outdoors and in the sun. Gradual is the whole rule. The five stages below are a suggested order this page puts on that instruction, not a printed schedule from either source.
| Stage | Where it goes | Move on when |
|---|---|---|
| 1 | Sheltered spot, bright shade, out of the wind | The leaves look the same at the end as at the start |
| 2 | A spot with early sun and midday shade | No bleached or papery patches on the leaves |
| 3 | Full sun for most of the day | Stems are still firm after a sunny afternoon |
| 4 | Out all day, back in at night | The crop's own minimum is met — warm-season crops want soil at 65 to 80 °F (18 to 27 °C) |
| 5 | The garden bed | A cool, overcast day, soil thoroughly moist, seedlings watered |
Watch the two things that hurt plants in that first week: sun on leaves that have never felt it, and wind on stems that have only ever held up nothing. Lengthen each day's outing a little. If a day goes wrong — a cold snap, a windy afternoon, a seedling that bleaches — go back a stage and build up again rather than pushing through.
Planting-out day, and the first week in the garden
Plant out on a cool, overcast day if the forecast offers one, so the seedlings are not stressed by heat and sun — or shade them for a few days until they recover (UC Master Gardeners of Santa Clara County). Water the bed thoroughly and water the seedlings before you start, lift each one by its root ball rather than its stem, and set it so the soil line matches the level it had in the pot; tomatoes are the exception and can go in deeper. Then water gently around each plant to settle the soil.
After that, ordinary good conditions do most of the pest and disease prevention for you: full sun, well-prepared soil, the right amount of water and fertilizer, enough space, and planting at the correct time (UC Master Gardeners of Santa Clara County). Two adjustments for raised beds — they dry out faster than in-ground beds, so check moisture more often, and do not plant the same family in the same bed for three to four years (University of Minnesota Extension).
When the harvest comes, the tomato ripeness guide for canning covers the fruit and root cellar basics covers keeping it. If this is your first year with a bed at all, start with the beginner vegetable garden guide, and the Food and Water section puts growing, preserving and storing in order.
Troubleshooting the tray
- If the seedlings are tall, pale and floppy
- Change the light first: cover off, tray under the fixture, tops close to the tube. New growth comes in shorter and greener; the stretched stem will not shrink back, so thin around it or plant it slightly deeper at planting-out time.
- If nothing came up
- Check depth first (a quarter to a half inch), then moisture, then warmth. Seed sown too deep runs out of stored energy, and a mix that dried out once may not rewet from a gentle spray.
- If the seeds have washed into one corner
- Switch to a fine-screened watering tool and stop pouring straight onto the cells; water until the mix is moist, not until it puddles.
- If germination is patchy across the flat
- Look at hole depth. The University of Minnesota Extension notes that uneven depth gives uneven emergence, so a taped pencil beats a guess.
- If seedlings collapse at the soil line
- Usually too wet, too cool and too little air at once. Take the cover off as soon as anything is up, water at the soil rather than over the leaves, and keep to two or three seeds per cell.
- If the plants thrived indoors and died within days outside
- Hardening off was skipped or hurried. Go back a stage on the schedule above, build up again, and plant out on a cool, overcast day.
How this page is checked
Every number above traces to one of the Extension pages in the Sources list. Where the instructions quoted here are silent — hours of light, inches from the bulb — this page says so instead of filling the gap. The same rule runs through the rest of the site: canning guides follow tested USDA and National Center for Home Food Preservation methods, and the how-to pages do not recommend products.
When to get help
Call for help if
- You are worried about lead, pesticides or other contamination in soil you are bringing in, or in the ground where you plan to plant food: ask your county Extension office or local health department about soil testing before you plant.
- Someone swallows fertilizer, a soil amendment or a treated seed, or gets one in their eyes: call Poison Control or a health care provider, and keep the package with you.
- A child or a pet has been eating potting mix or seedlings: call Poison Control, or your veterinarian for the pet.
- You need your local last frost date, a planting chart for your area, or help reading a soil test: your county Extension office answers all three.
Who to ask. In an emergency, call 911. If a carbon monoxide alarm sounds or anyone feels dizzy, sick or confused, get everyone outside into fresh air first, then call 911. Report outages and downed power lines to your utility. For local hazards, shelters and alerts, contact your city or county emergency management office (start at Ready.gov).
Frequently asked questions
How do I start seeds indoors without leggy seedlings?
Give them light the day they emerge, not a week later. Remove the plastic cover as soon as seedlings appear and keep them in full sunlight or directly under fluorescent lights (University of Minnesota Extension).
What is the best way to start seeds indoors for a first try?
Try two or three crops your household actually eats, use trays three to four inches deep with a light seed-starting mix, sow two or three seeds per cell, and put the tray under a light the day the seedlings come up. Fewer crops done properly beats a crowded flat of everything.
How many hours of light do seedlings need, and how far from the bulb?
The instructions quoted on this page give a place — full sunlight or directly under fluorescent lights — and not a number of hours or inches, so this page does not invent one; your fixture's label is the authority on mounting and clearance. Judge by the plants: short, thick, green new growth means the light is working; pale, stretching stems mean it needs to sit closer over the tops.
What is the best soil to start seeds indoors?
A light mix rather than garden soil: two parts loam, one part sand and one part organic matter, sifted through a quarter-inch screen, or a bagged premixed mix from a garden center (University of Minnesota Extension).
Why do my seedlings die after I transplant them?
Usually because they went from a warm room to full sun and wind in one step. Harden them off by gradually increasing their time outdoors and in the sun, water the bed and the seedlings first, and plant out on a cool, overcast day (UC Master Gardeners of Santa Clara County).
Sources
- Planting the vegetable garden, University of Minnesota Extension (accessed October 29, 2026).
- Starting seeds indoors, University of Minnesota Extension (accessed October 29, 2026).
- Vegetable Gardening Basics, UC Master Gardeners of Santa Clara County, University of California Agriculture and Natural Resources (accessed October 29, 2026).
- Raised bed gardens, University of Minnesota Extension (accessed October 29, 2026).
From a seed tray to a garden you can eat from
The Food and Water section puts growing, preserving and storing in order, so the seedlings you raise this spring have somewhere to go in August.